Welcome to Your Bioscan Journey. Follow these instructions to complete the three main bioscans we use as a guide to see what your body state is. These scan will give us insight in to all the systems of the body and are used as a reference to support your frequency healing journey. The Three main scans we are covering here are Vitals, Comprehensive & Body Systems Scans.
If it’s your first time Bioscanning on our systems you will be asked to complete this procedure twice so we can get enough background understanding about what issues maybe showing up for you that need to take priority in your treatment.
Preparing For Your Scan
Private Space for 30 minutes
Make sure you are sat in a comfortable position, in room on your own and will be uninterrupted for the next 30 minutes. It should be quicker than this to complete the scans and this is a long enough window for you to take to ensure all 3 scans are complete. Being alone in the room whilst you scan is important to give more accurate results and ensures the bioscan isn’t picking up someone else’s energy signature, just yours. Ideally you will be in a living space you can relax, lounging on the bed is fine. Do not scan in the kitchen as the foods and ingredients could be picked up by the scan and interfere with the results.
Make Sure Your Phone Has Good Connection
Connect Your Phone to Wifi or make sure you have a strong phone internet connection so the scan has enough bandwith to communicate to its remote servers. If your connection does fall out you will find the scan does not complete and you’ll have to reconnect and start the scan again.
Get Comfortable
Take a Moment to find a comfortable position. If you can make sure your whole body feels supported and relaxed we will get a more accurate bioscan result about any stresses, strains, constrictions or tension in the musculoskeletal & circulatory systems.
Get Started
Get Ready For Your Bioscan.
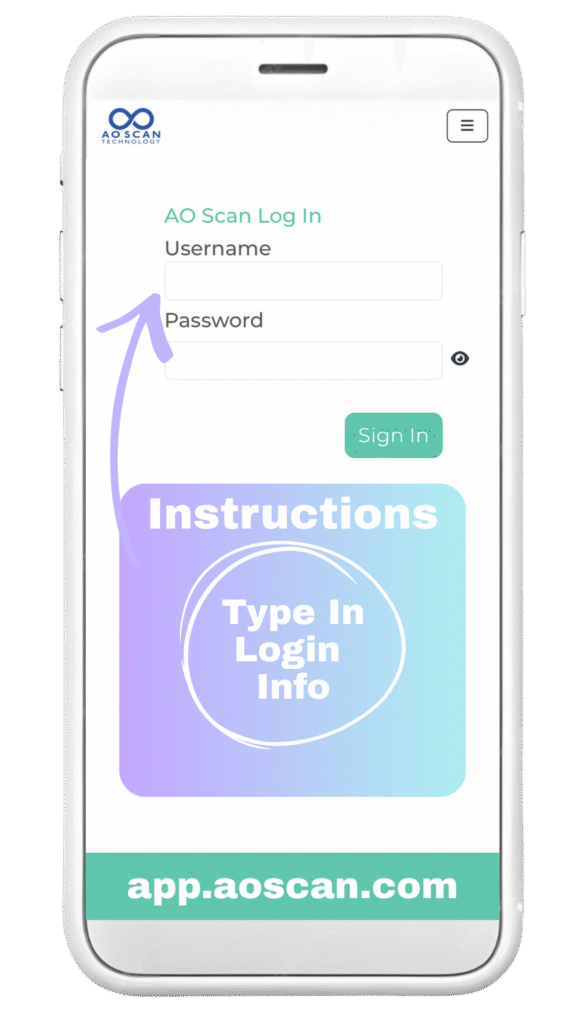
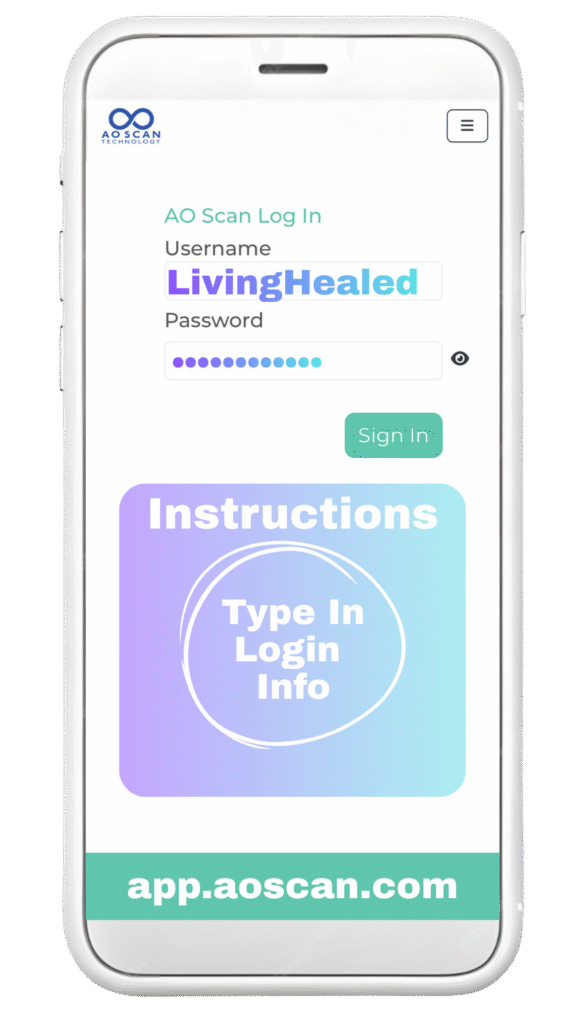
Step 2 Log In
Type The Username & Password
That We Sent You Privately.
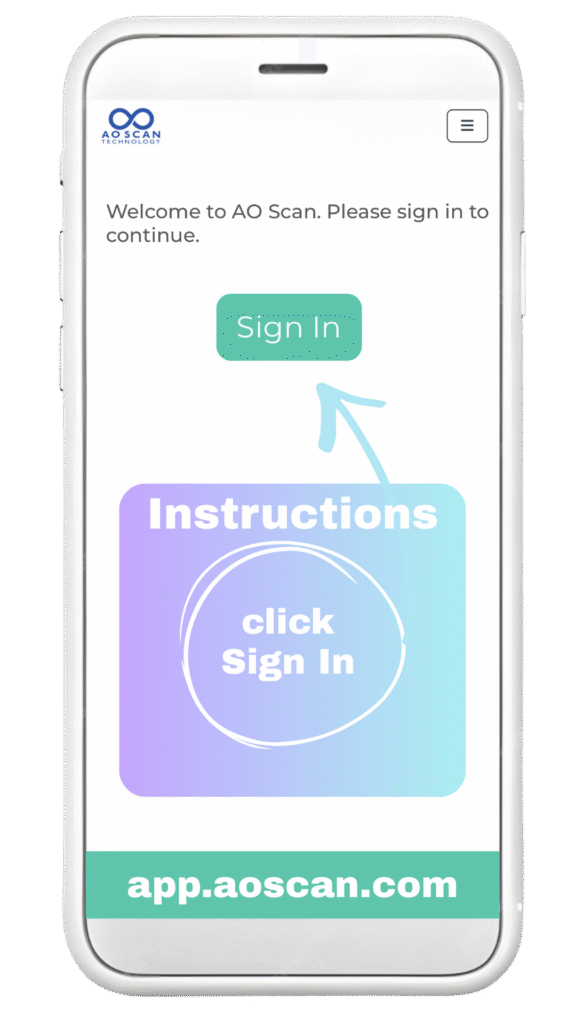
Step 3 Click Sign In
With The Username & Password Filled In
Click Sign In
Step 4 Access Your Personal Profile
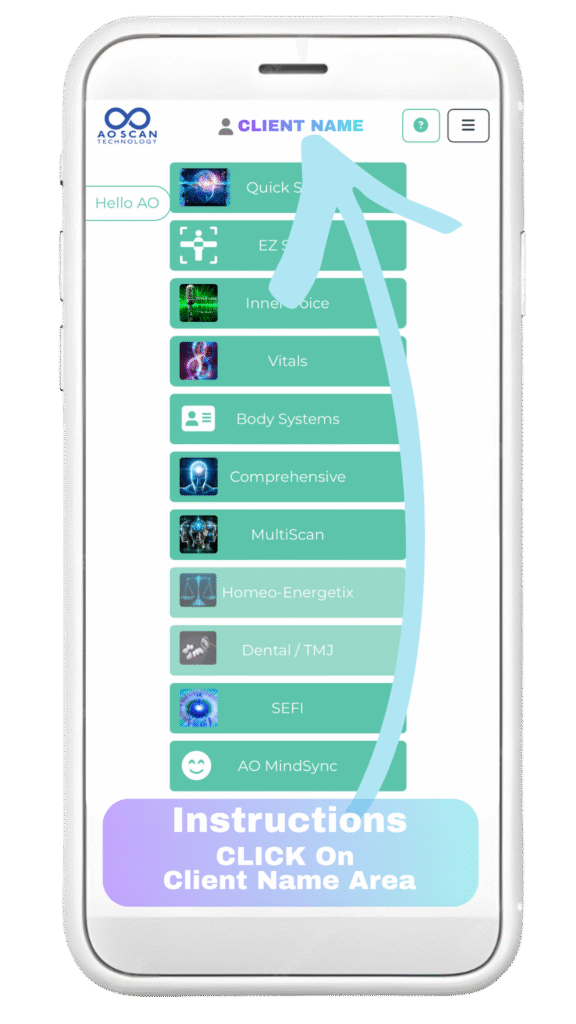
Welcome to the homescreen of the Bioscan App. We will be revisiting this page to select the scans. First we need to open up your personal profile so the bioscan is set up to scan you & analyse your personal results.
Click Next to the grey person icon at the top centre of the screen.
There may be a name there already from the last user – just click on the name area here for the next menu to appear.
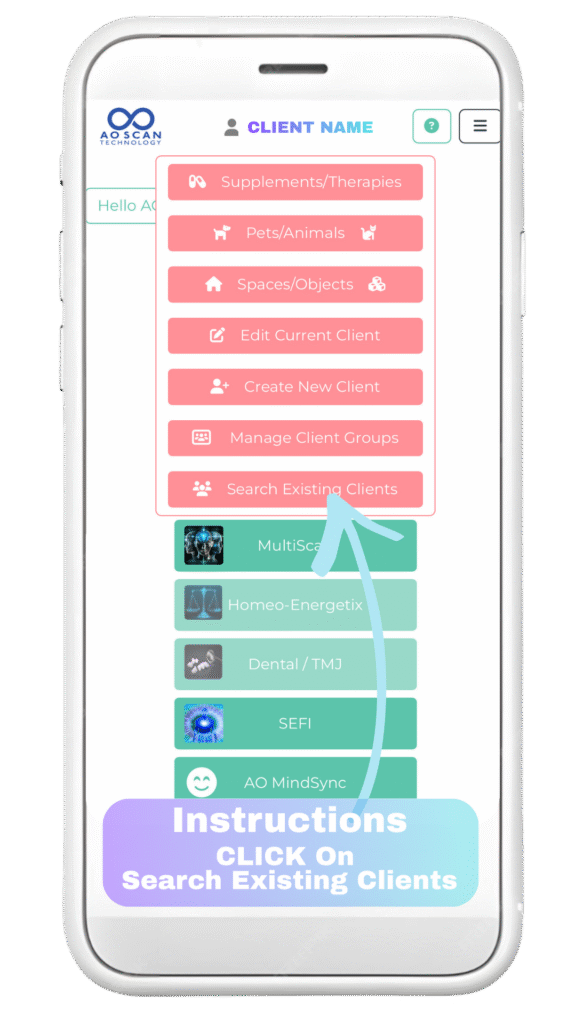
Step 5 Search Existing Clients
As our client, we have already set you up on our Bioscanner. All you need to do is follow these steps to select your personal profile.
Click Search Existing Clients
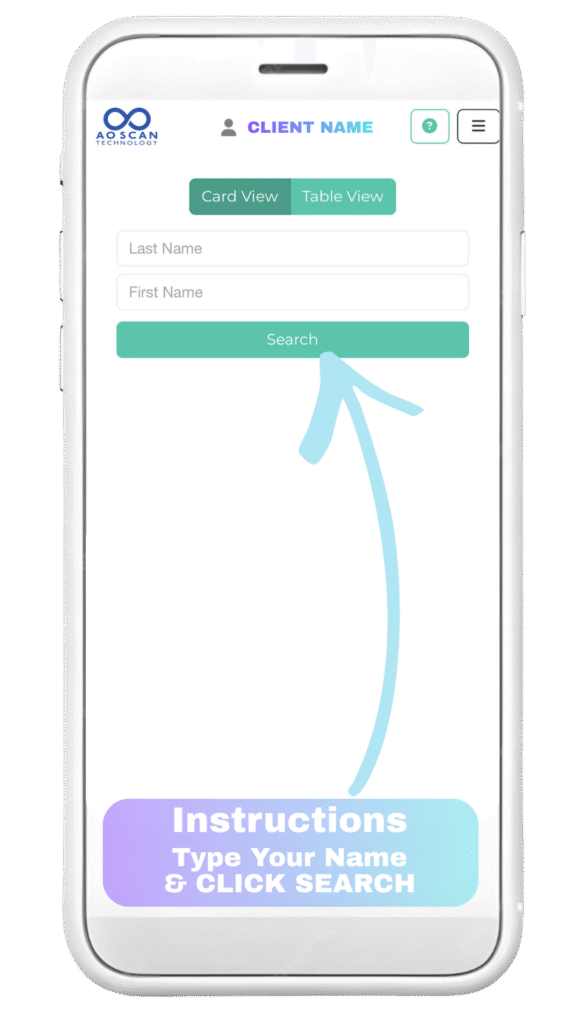
Step 6 Search For Your Profile
Type In Your Last Name In The Top Field
Type In Your First Name In The Bottom Field
Click Search
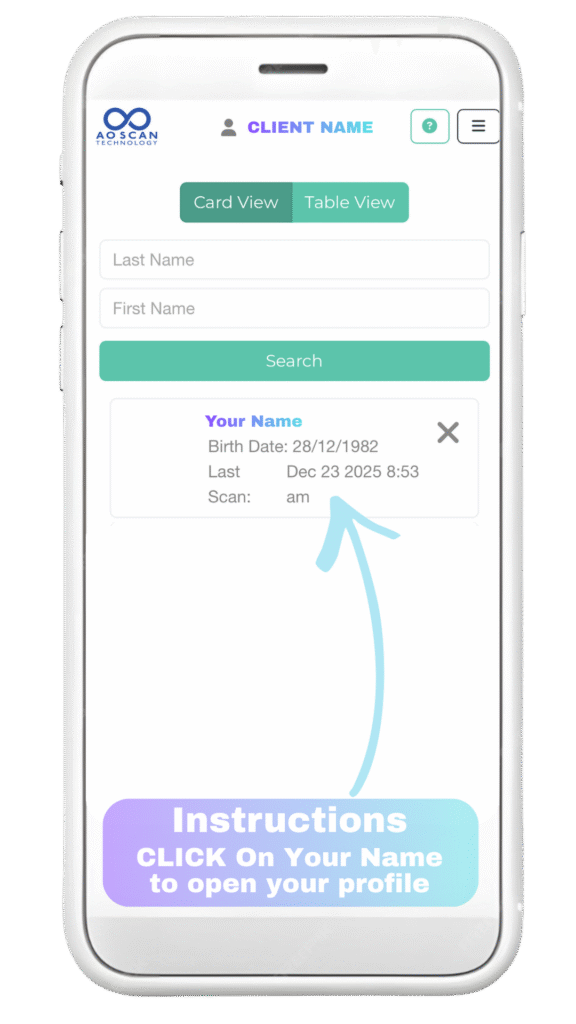
Step 7 Selecting Your Personal Profile
Your Name will appear below the search button
Click on Your Name
(if your name doesn’t appear – contact us)
Step 8 Prepare for Your 1st Scan
Now we are back on the scan navigation menu. Your Name Will be showing at the top of the screen.
Get Comfortable & Prepare for Your Vitals Bioscan.
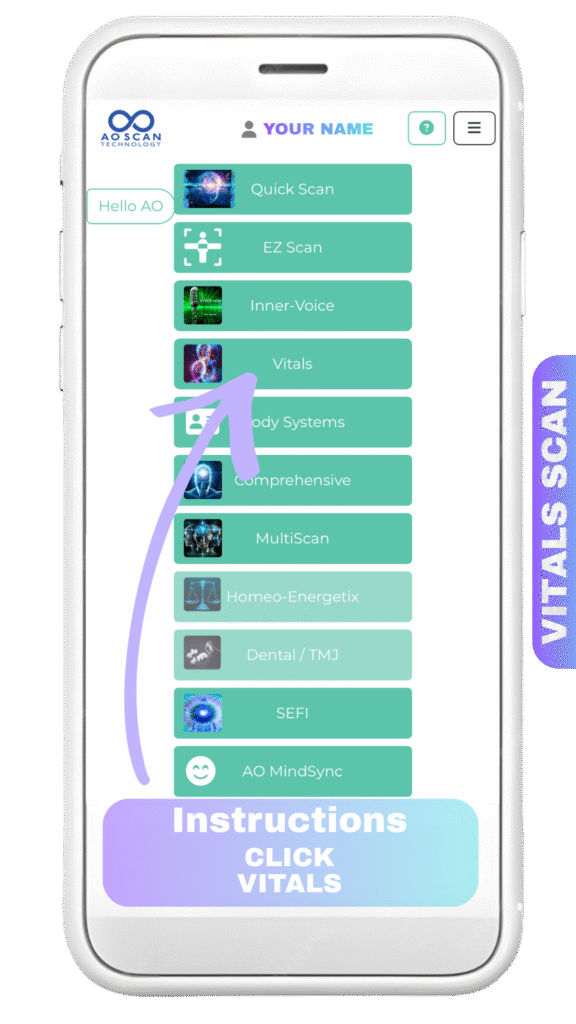
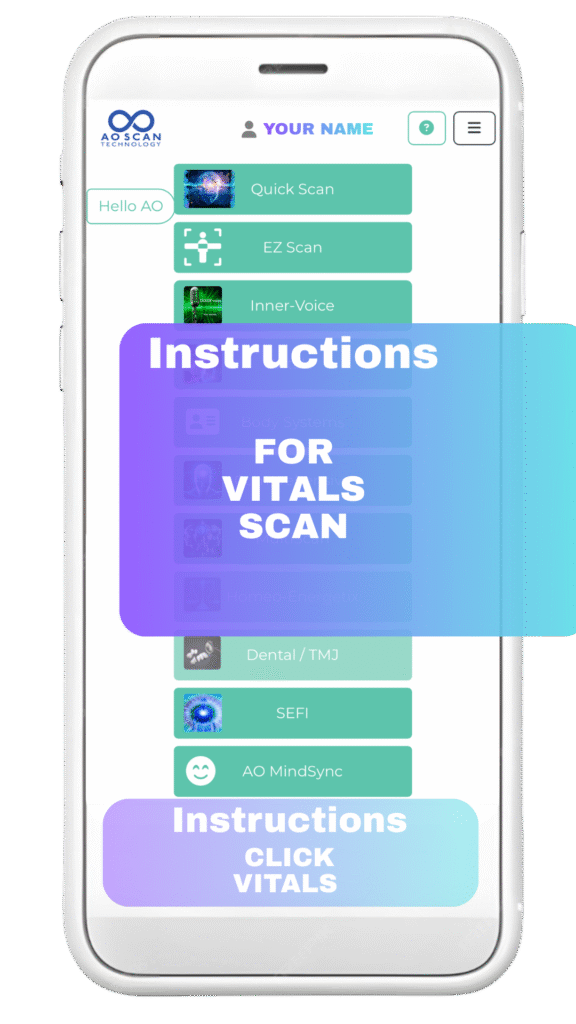
Step 9 Select Vitals Scan
Click on Vitals
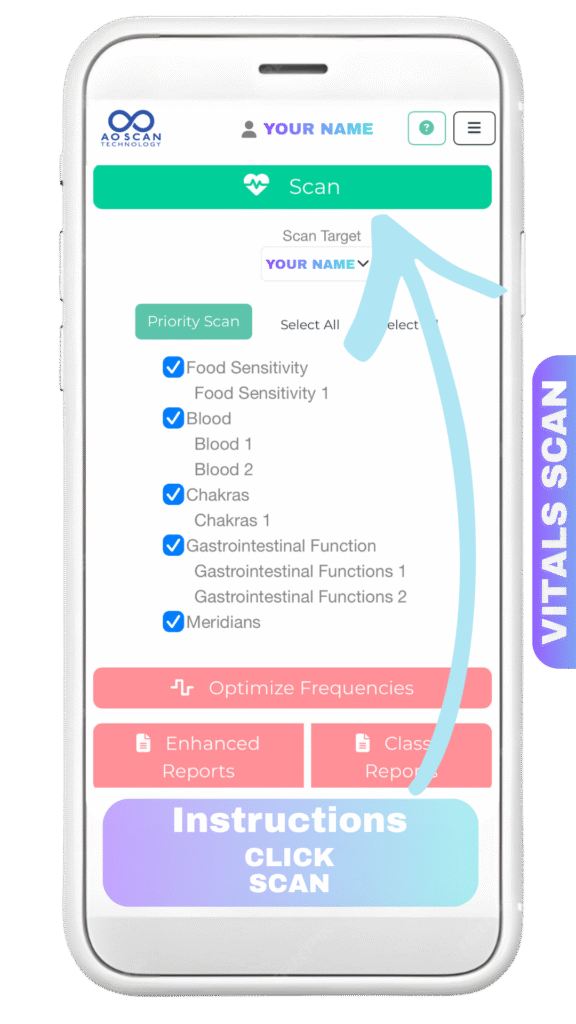
Step 10 Complete Vitals Scan
Place the smartphone on your lap so the vibrations are connected to your body for optimal scanning. You can if you prefer have it next to you in close proximity.
Once You Click Scan the Scan will Begin.
Click Scan
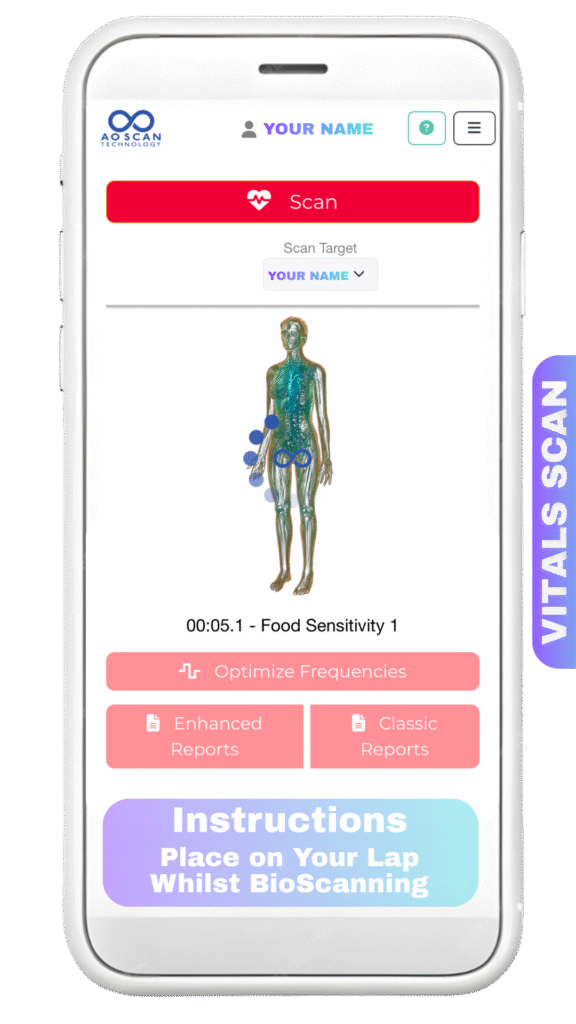
Step 11 Vitals Scan is Now In Action
There will be a pulsing noise as the scan works. You will see this screen whilst the scan is in procedure.
Just sit calmly with the device on you waiting for the scan to complete.
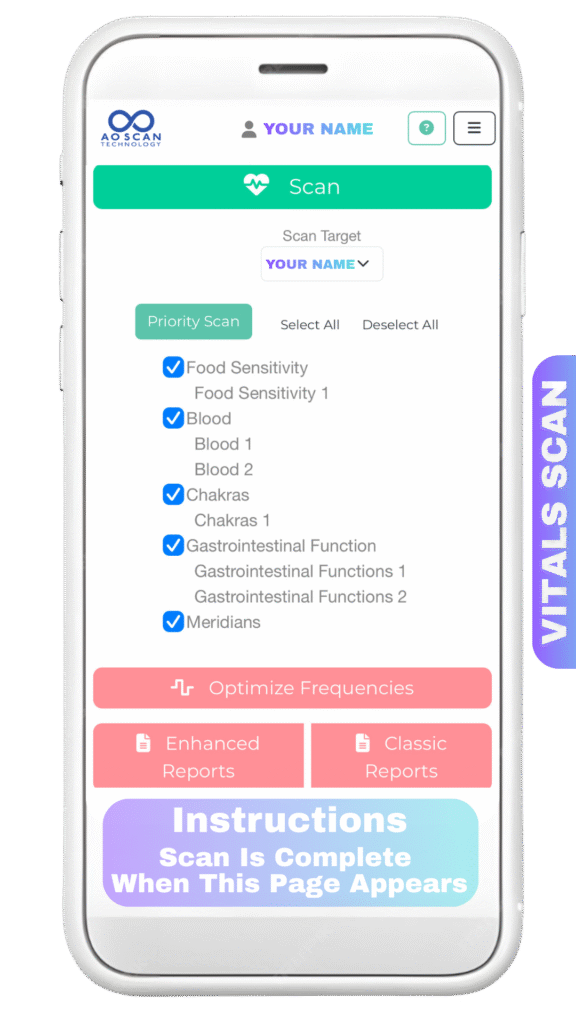
Step 12 Vitals Scan Is Complete
You will notice the noise stop & the page change to this when the Vitals Scan is completed.
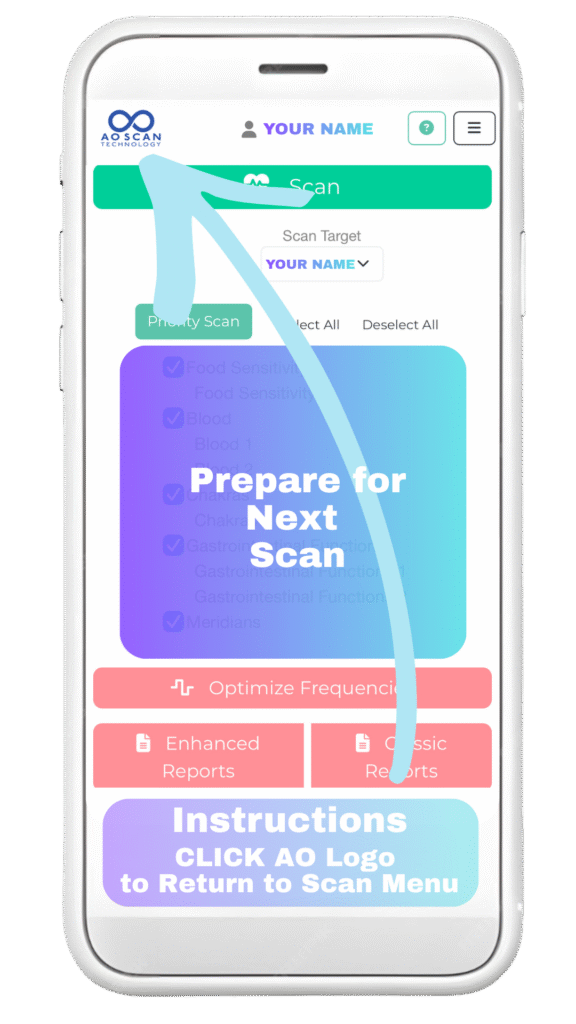
Step 13 Prepare for Your Next Scan
Navigate to The Scan Menu For Your Next BioScan.
Click the AO logo on the top left corner of the screen to navigate to the main scan menu.
Click the AO SCAN logo
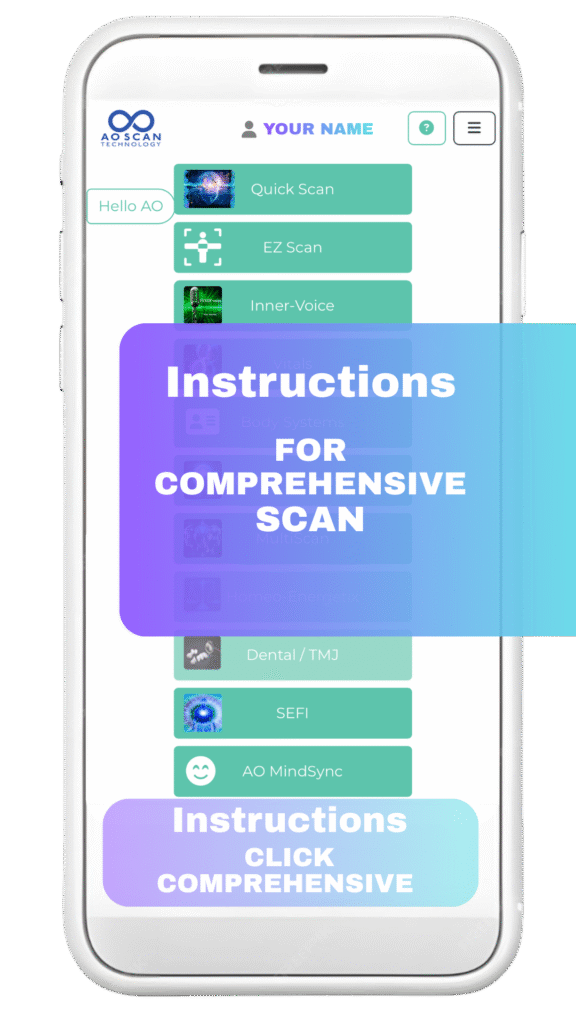
Step 14 Prepare for Comprehensive Scan
If you need a moment to break – you can do so now. Otherwise move on to your next scan, The Comprehensive Bioscan.
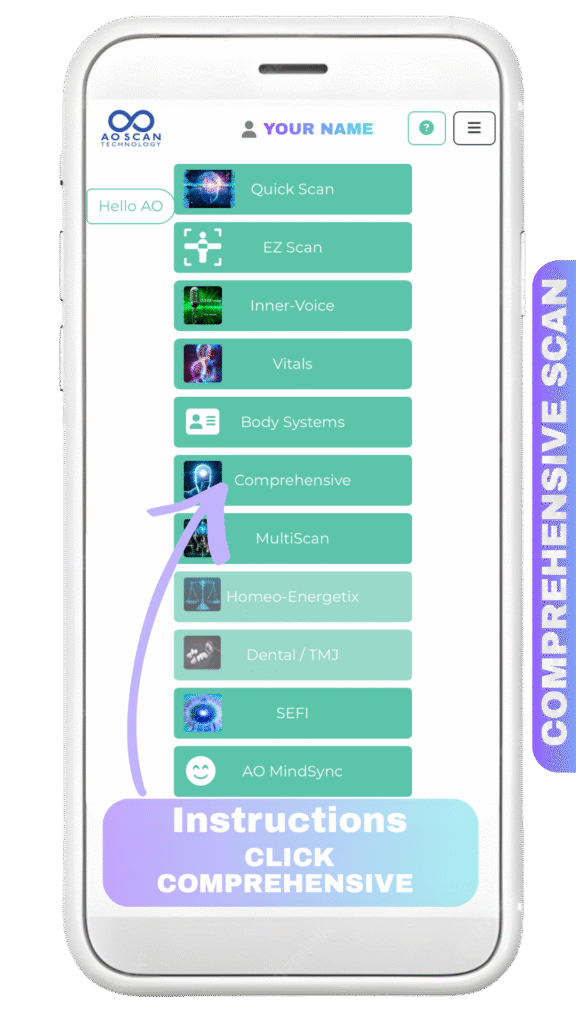
Step 15 Select Comprehensive Scan
Click on Comprehensive
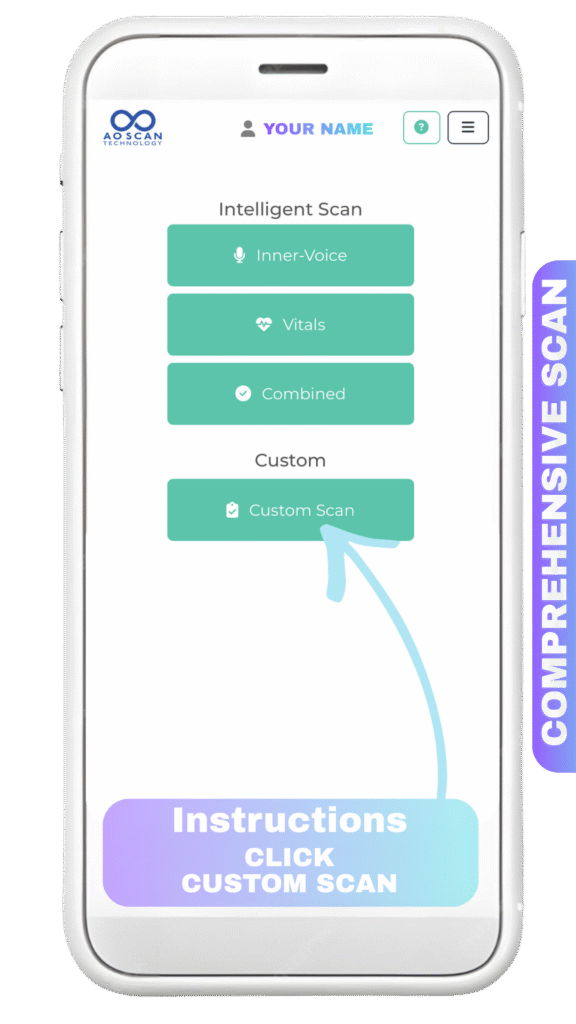
Step 16 Set Up Your Custom Scan
Click Custom Scan
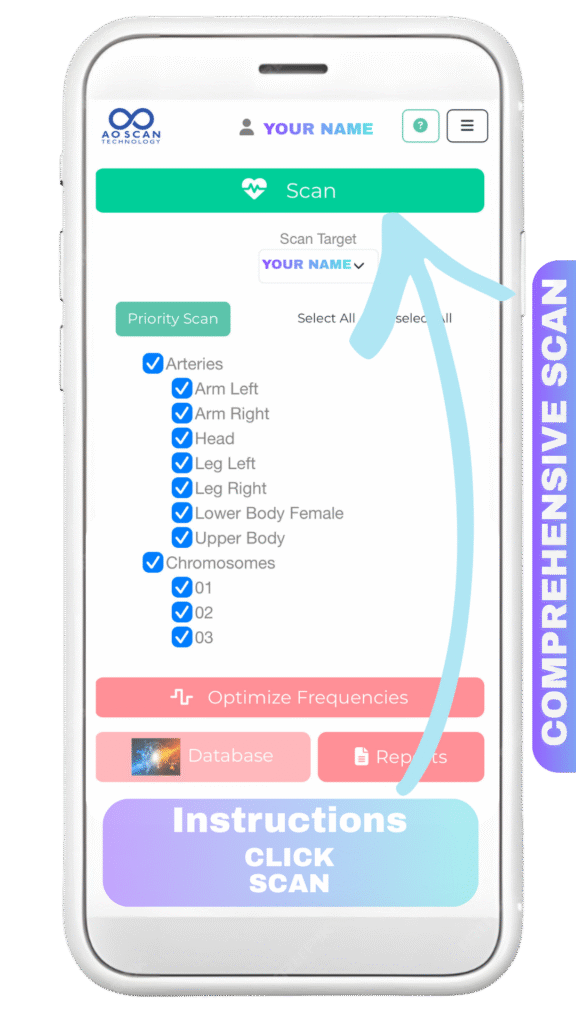
Step 17 Start Your Comprehensive BioScan
Once You Click Scan Your Scan will start. Sit Comfortably with the device resting on your lap for optimal results.
Click Scan
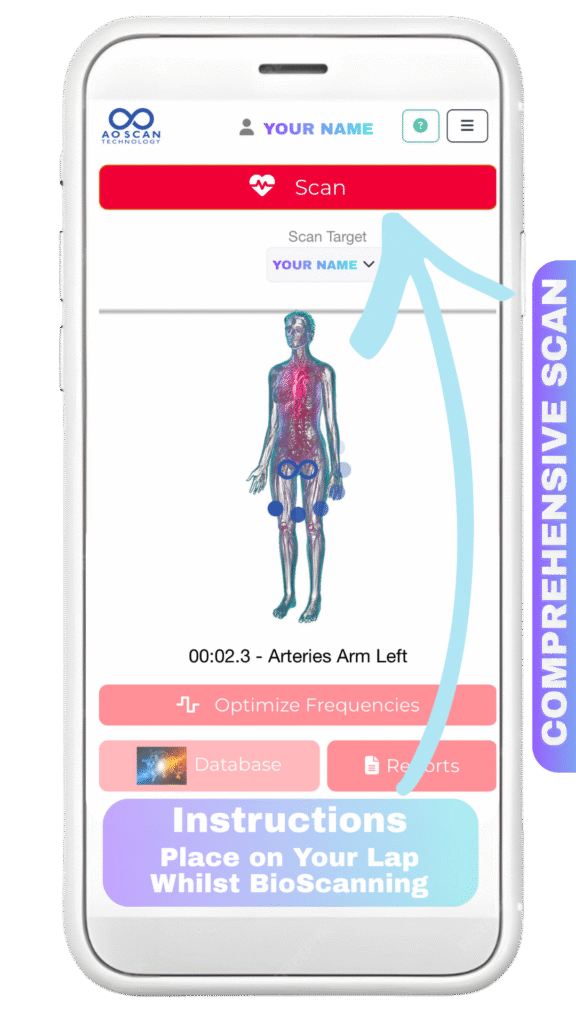
Step 18 Comprehensive Scan Is Now Active
There will be a pulsing noise as the scan works. You will see this screen whilst the scan is in procedure.
Just sit calmly with the device on you waiting for the scan to complete.
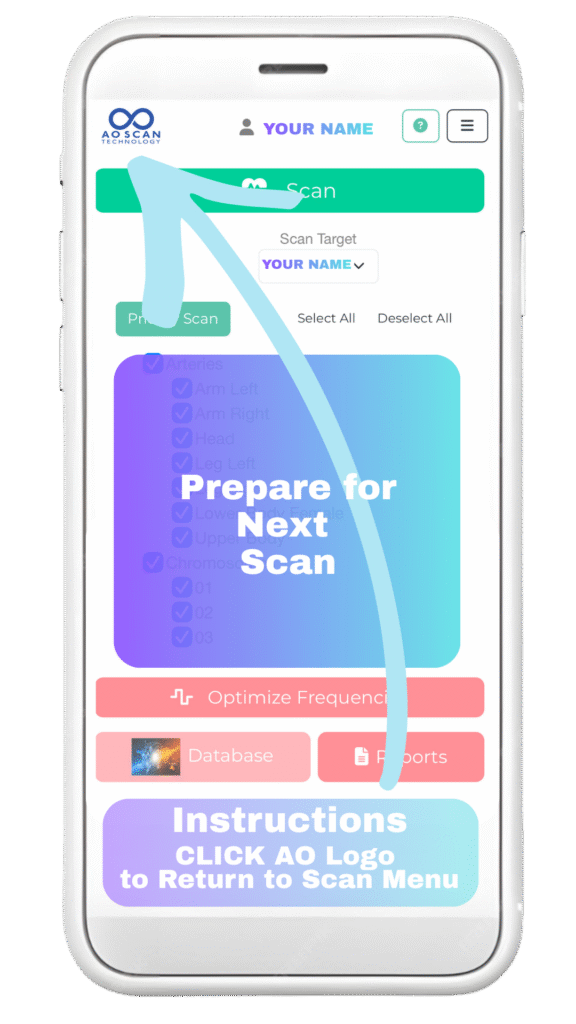
Step 19 Prepare For Last Scan
The Comprehensive Scan Is Complete When the screen changes and the pulsing noise ends. To prepare for the last scan return to the main scan navigation menu by Clicking on the AO logo on the top left.
Click AO SCAN logo
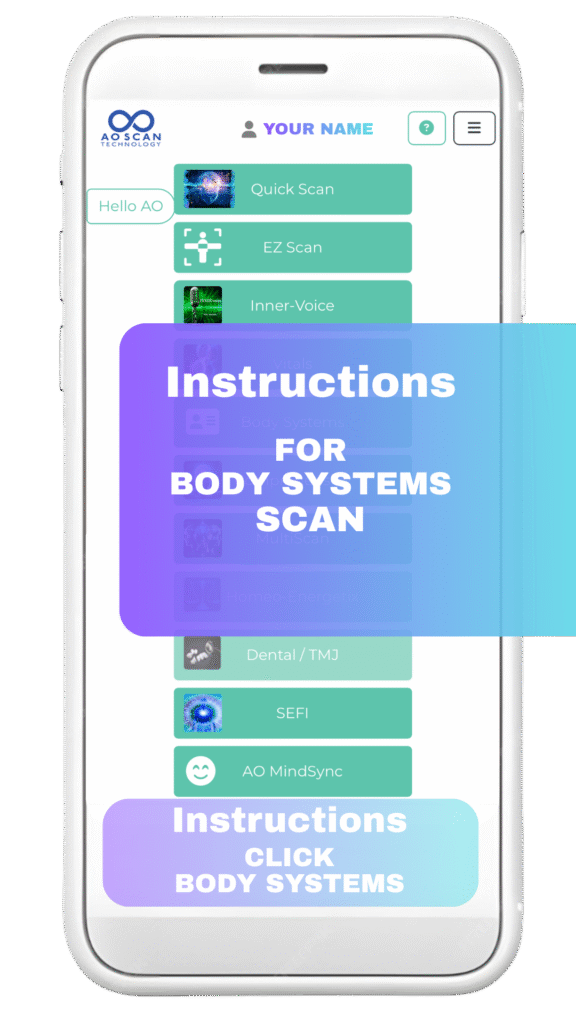
Step 20 Prepare for Body Systems Scan
If you need a moment to break – you can do so now. Otherwise move on to your next scan, The Body Systems Bioscan.
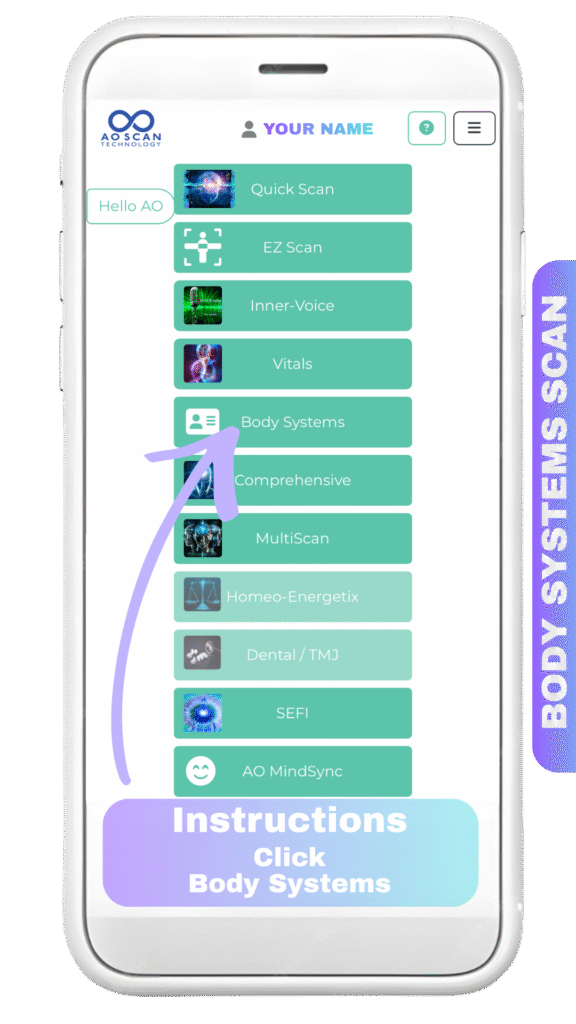
Step 21 Select Body Systems Scan
Click Body Systems
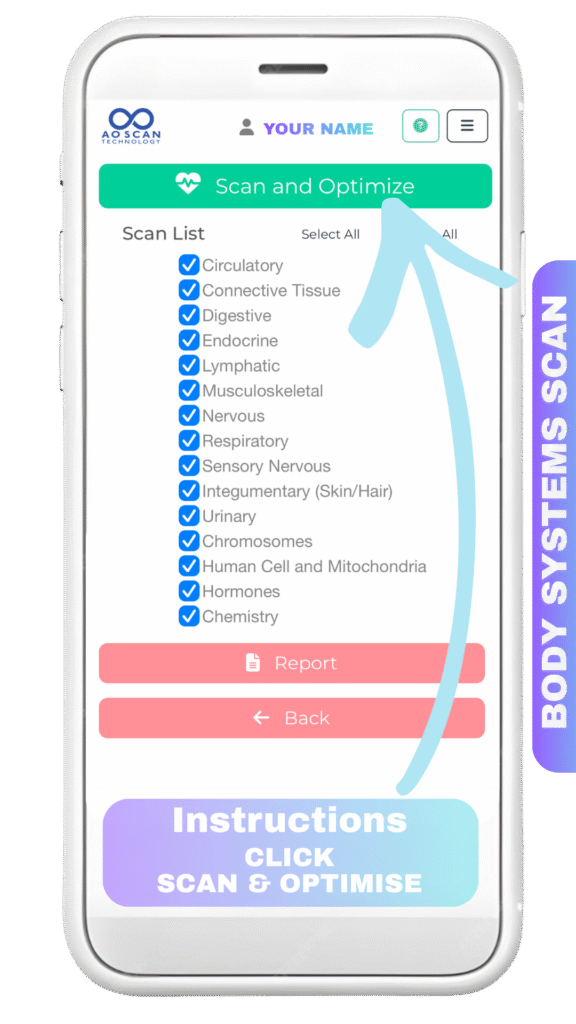
Step 22 Start Your Body Systems BioScan
Once You Click Scan Your Scan will start. Sit Comfortably with the device resting on your lap for optimal results.
Click Scan and Optimize
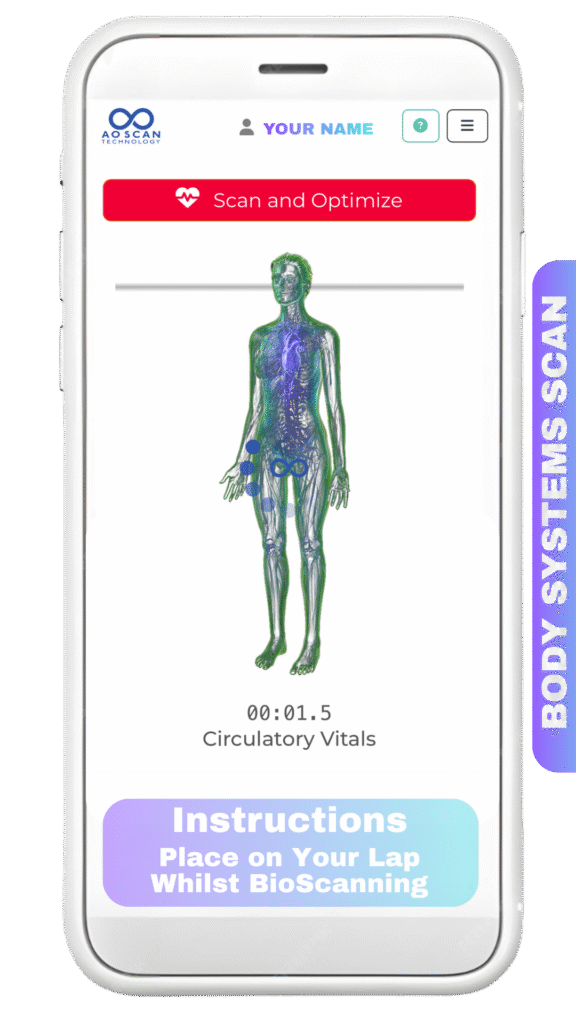
Step 23 Body Systems Scan Is Now Active
There will be a pulsing noise as the scan works. You will see this screen whilst the scan is in procedure.
Just sit calmly with the device on you waiting for the scan to complete.
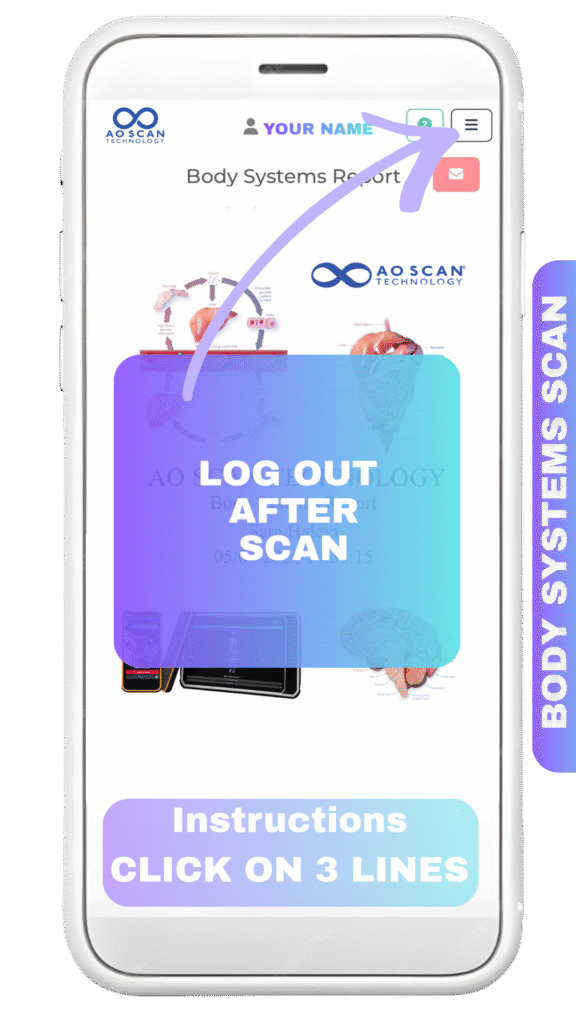
Step 24 Body Systems Scan Is Now Complete
Once the screen has changed and the pulsing noise has stopped you can log out of the scanner to make it available for the next user.
Navigate to the settings menu by selecting the box with 3 lines in the top right
Click on the 3 lines
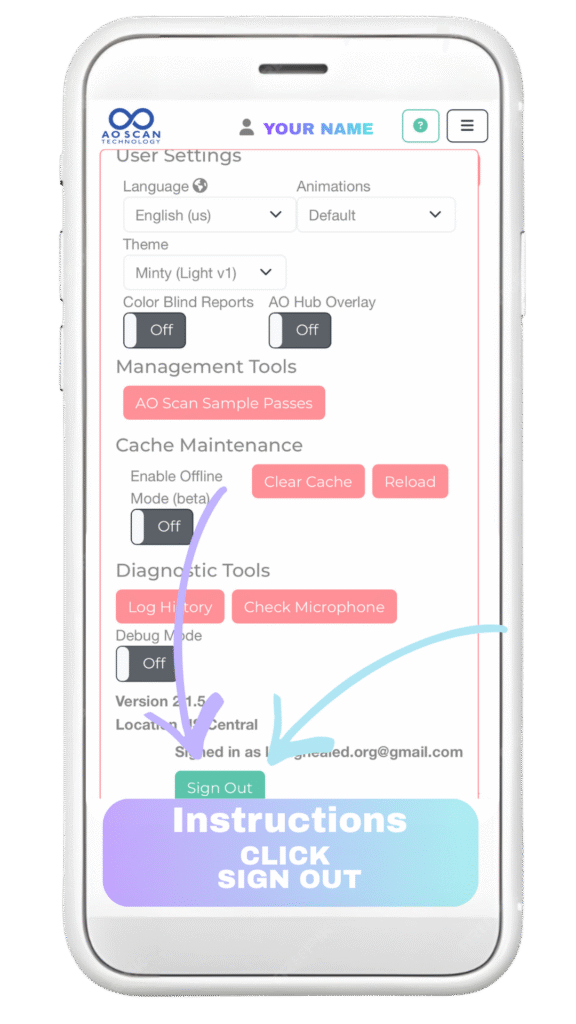
Step 25 Sign Out
Click on the Green Sign Out Button
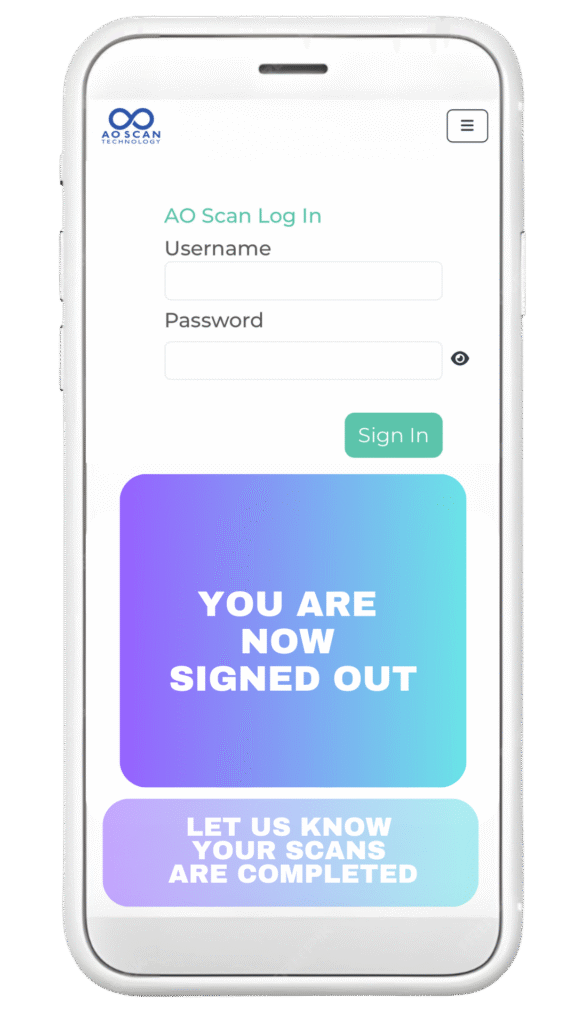
Step 26 Your Are Now Signed Out
Now Your Scans Are Completed The Final Step Is to let us know so we can continue your healing.
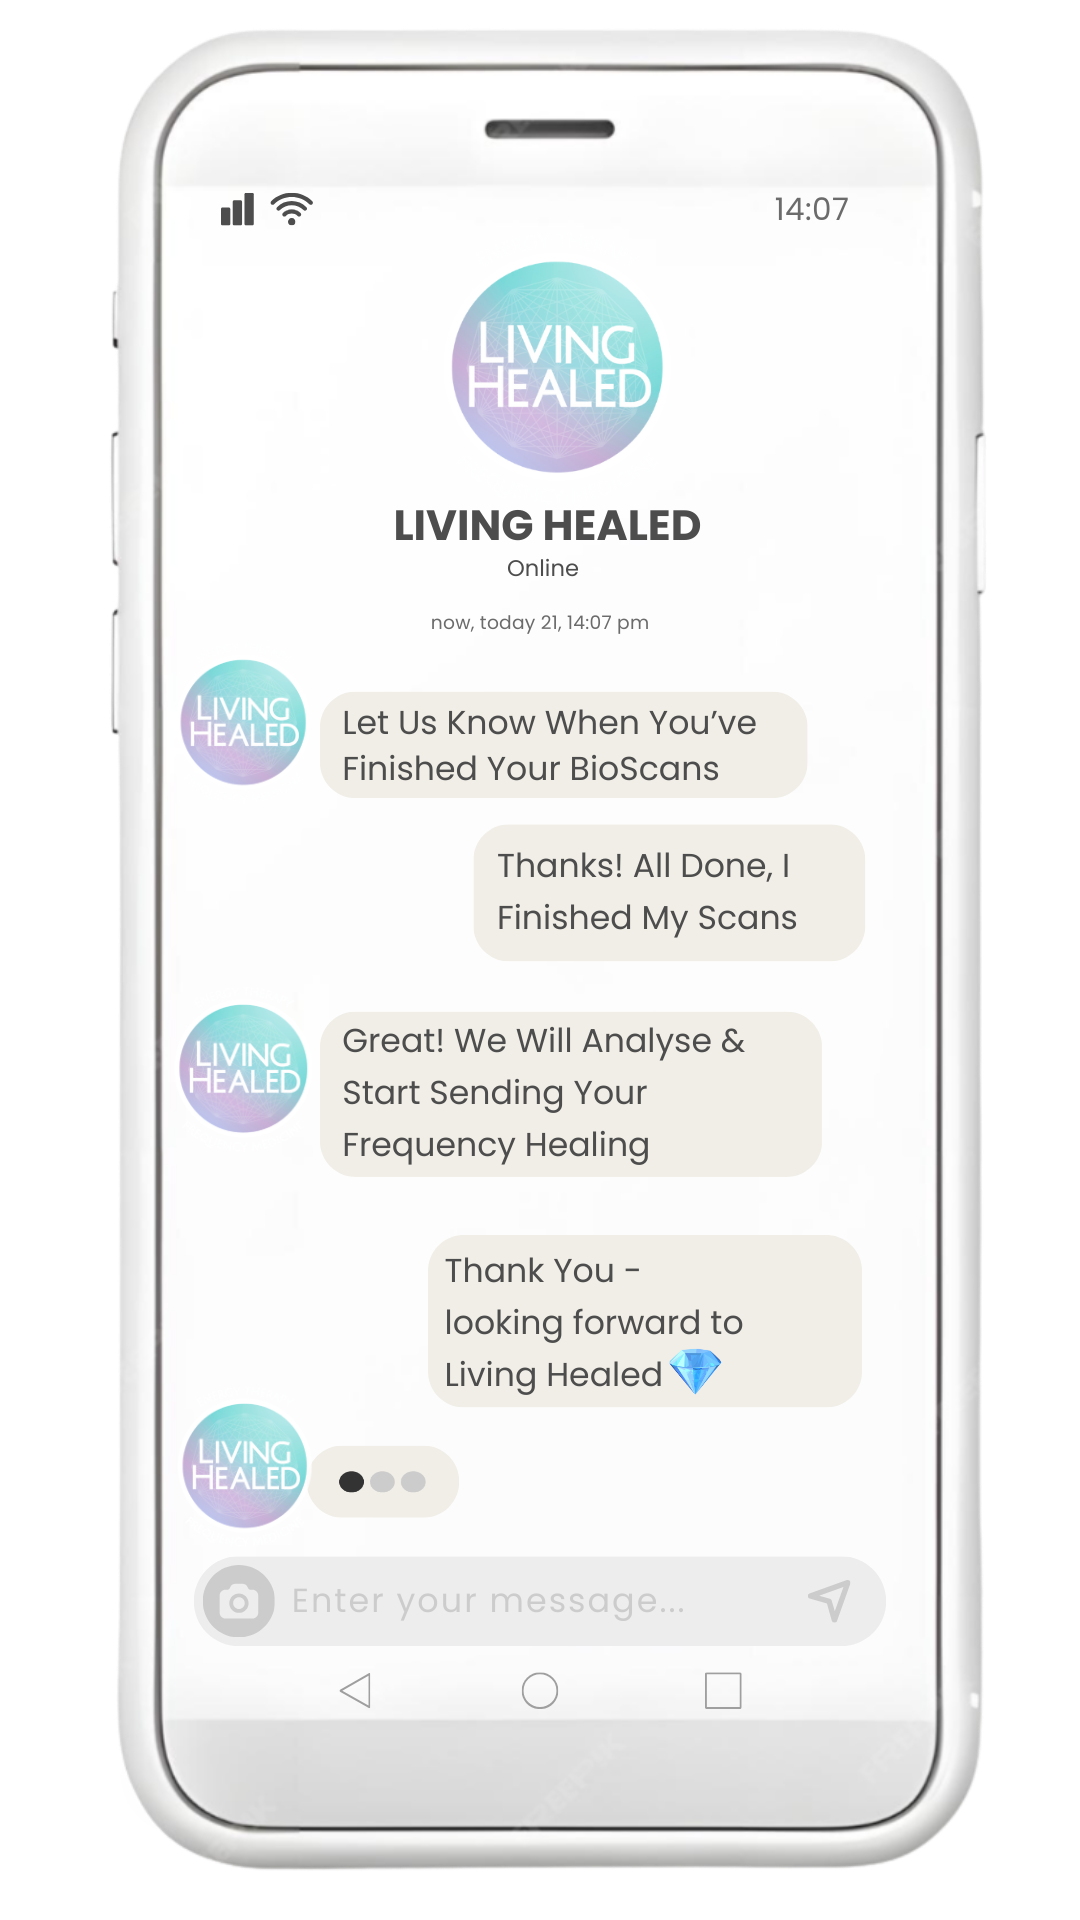

Thank You For Self Scanning
*AO Scanner Disclaimer – This is A Health Support Tool & Not a Certified Medical Diagnostics Device